If your question is about how to flash a phone without a computer, then you might want to pay more attention to this piece. Is your phone experiencing lag or is it overflowing with files that you can’t find the time to delete? Do you have a phone that seems to be stuck in an endless loop during a reboot? Has malware invaded your device or do you just want to start afresh?
People require a fresh start, also known as flashing a device, for various reasons, and the list highlighted above are just some of the common ones. Traditionally, people use a laptop to initiate this process, but what if we told you that you could flash that device without connecting it to a laptop? Stick around and you will find out just how to go about the process.
What is Flashing a Device?
Flashing a device is the process of reinstalling, updating, upgrading, or downgrading the device’s firmware or operating system (OS). Essentially, what is done in this process is overwriting the existing firmware or OS.
The keyword here is “overwriting.” There is no flashing without an overwrite, as it involves getting rid of the existing firmware while installing a new one. The new one could be the same version as the one uninstalled, in which case it would be “reinstalling.” Or it could be a newer version (updating or upgrading) or a lower version (downgrading).
Downgrading might not be easy, though, as most manufacturers set up measures against this. This is due to the possibility that any error made during the process could render the device completely unusable, akin to a brick.
Notably, flashing your phone would typically erase any existing data on it, including music, apps, documents, videos, photos, galleries, and any other data saved in your internal storage. However, depending on the type of flashing you are doing, your data may be preserved or lost. A simple firmware update should not wipe your data.
Additionally, you may get an option to retain your data even if you are doing a complete firmware and OS overwrite. In any case, though, the general rule of thumb is to back up any important files before you attempt flashing your phone.
In the subsequent sections, we shall examine how to flash a phone without a laptop. But before we do that, we will look at some of the reasons people flash their phones. Everyone unequivocally has specific reasons for doing that and in the next section, we will explore the common reasons.
Common Reasons You Might Want to Flash Your Phone
- Malfunctioning device: If your device is not working correctly, flashing it might be the ultimate fix when all else has failed. That is because it restores your phone to its original performance from when you first purchased it.
- Malware-infested device: If your device were infected by a virus or different malware that you are unable to get rid of, flashing your device would help in eradicating the malware.
- Lost password: If you lost the password to your phone and can’t seem to gain access, flashing your phone would help you start afresh, similar to when the phone was new — no password.
- Starting afresh: If your device becomes too cluttered with many files, you might either perform a data reset or flash the device.
- Transfer of ownership: If you are selling or gifting your phone to someone, you might want to flash the device for security and privacy reasons. Conversely, if someone gifted you with a used phone, you could flash it to start afresh.
There are other reasons people flash their phones; however, these are just some of the common ones. In the next section, we will examine how to flash a phone without a laptop.
How to Flash Your Android Without a Computer in 2025

If you’ve ever asked, “How can I flash my phone without a PC?” — good news: it’s absolutely possible to do it right from your device. Whether you’re locked out, looking to install a custom ROM, or just want to breathe new life into your Android, here’s exactly how to flash a phone with hand — step by step.
Step 1: Back Up Your Data
Before doing anything else, make sure your important stuff — like contacts, photos, apps, and messages — is backed up. You can use Google Drive, a cloud backup app, or even save data to an SD card if you have one.
Step 2: Enable Developer Options
- Go to Settings > About Phone.
- Tap Build Number repeatedly (usually 7 times) until it says “You are now a developer.”
- This unlocks hidden developer settings on your device.
Step 3: Turn on OEM Unlocking and USB Debugging
- Go back to Settings > System > Developer Options.
- Toggle on OEM Unlocking and USB Debugging.
These settings are crucial to allow changes to your phone’s system.
Step 4: Download the Flashing Files
Still on your phone (no computer needed), download:
- A custom recovery like TWRP (Team Win Recovery Project).
- The custom ROM or firmware you want to install.
Make sure the files are compatible with your exact phone model.
Step 5: Move Files to Your Phone’s Storage
Save the downloaded files in your internal storage or SD card — some recoveries make it easier to access files from external storage.
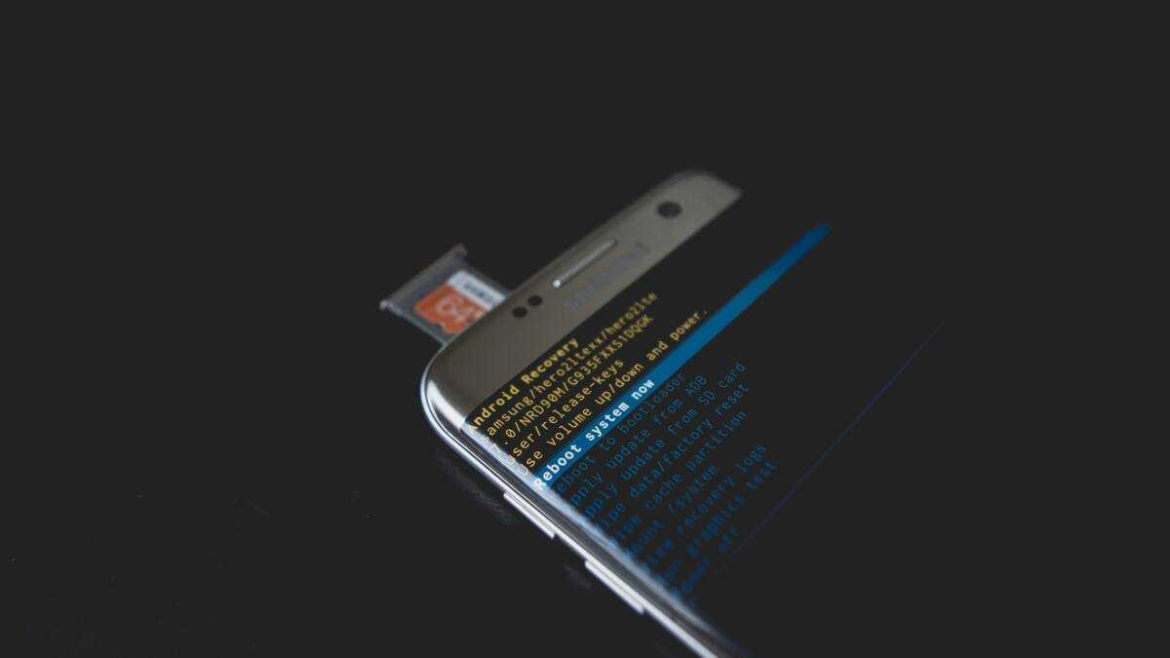
Step 6: Boot Into Recovery Mode
- Power off your phone.
- Hold the button combo for recovery mode (usually Power + Volume Up).
You’ll enter the recovery menu — this is where the magic happens.
Step 7: (Optional but Smart) Back Up Your Current ROM
In TWRP or your custom recovery, choose Backup.
This saves your current system in case you need to restore it later.
Step 8: Install the Custom Recovery (if not already installed)
If you’re using a tool like TWRP Manager or a flashing app from within Android, follow prompts to install the recovery.
Step 9: Wipe Data and Cache
In the recovery menu:
- Choose Wipe > Advanced Wipe.
- Select Dalvik / ART Cache, System, Data, and Cache.
This clears the way for a clean ROM install.
Step 10: Flash the New ROM
- Go to Install in the recovery.
- Navigate to the ROM file you downloaded.
- Swipe to confirm the flash.
Now your phone is installing the new system — totally by hand.
Step 11: Reboot and You’re Done
Once the flash is complete, choose Reboot > System.
The first boot may take longer — don’t panic. Your freshly flashed phone will be ready shortly.
Conclusion
Now you know exactly how to flash phone with hand — no laptop, no cables, just you and your Android. Whether you’re upgrading performance or customizing your experience, flashing without a computer in 2025 is straightforward and totally doable.
However, remember to double-check that your ROM matches your device’s model and always back up your data. Happy flashing! Stay connected to Logic Security for more DIY tips.


